|
Now that the project environment is ready for holographic development, we can design our first hologram. We will start out with something really simple and aim to build from this. Create a sphere In Hierarchy, under the Create menu, create a 3D Object → Sphere. You should see a sphere show up in your Scene. The sphere appears right on top of the camera. If you switch to the Game view, you won't be able to see the sphere. We can fix that by moving the sphere out in the z direction in one of two ways: 1. Select the Sphere under the Hierarchy. Navigate to the Inspector panel and change the Z position number 2. In the Scene, drag the blue arrow (the Z direction arrow) away from the camera. The sphere should now be visible in the Game view. It may be larger than the field of view of the camera. Fix that by either moving the sphere even further out in the Z direction or by adjusting the scale values in the Inspector panel. This is what my Inspector panel looked like at the end. 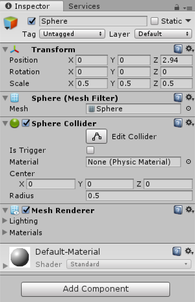 Woohoo! We have a sphere. It's quite unattractive though. We can edit the visual attributes of this object by changing its material. Changing the Material The Material class in Unity allows you to control the visual appearances of game objects. We can edit attributes of this class to change the color, shade, and texture of objects. In the Assets folder under Projects, create a new folder and name it Materials. In this folder, Create → Materials. Rename it to something that will better describe the look and feel of how you imagine the sphere. I named mine RedMaterial. With this new material selected, under the Inspector tab, use the eye-dropper tool located next to Albedo to pick a color from the color panel that pops up. Drag this material onto the sphere in the Hierarchy panel. At this point, your sphere should look like something similar to the image below. You can change the X and Y position to offset it further from the camera. Save the scene! 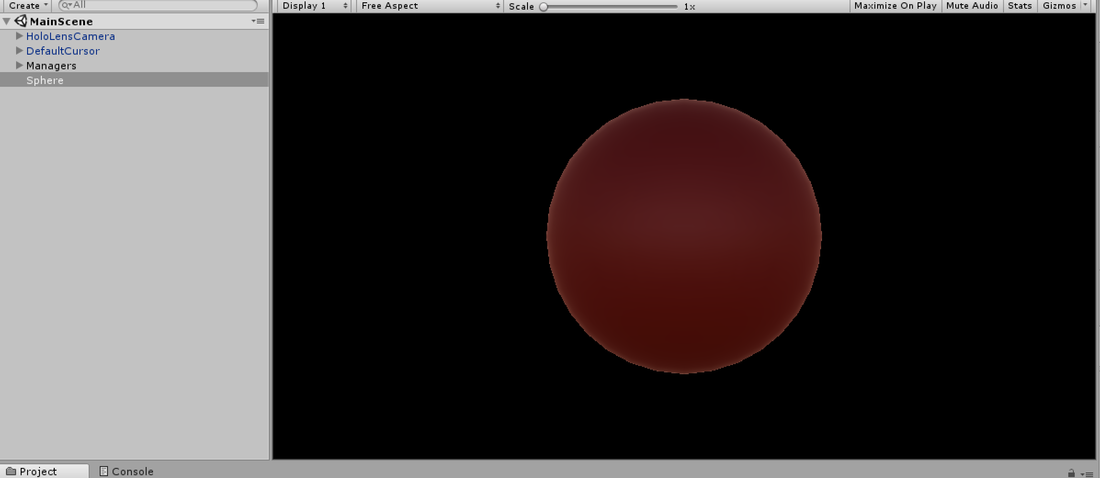
0 Comments
Leave a Reply. |
Archives
December 2018
Categories
|
 RSS Feed
